This weekend was a big crafting weekend and I wish I could share my completed projects with you. Unfortunately they were mostly birthday gifts and, given how the soon-to-be receivers may read this post, I can't ruin the surprise. I can show you my new and improved coin jar, though!
During the Christmas season I became a bit addicted to etching glass. I etched glass ornaments, vases, hurricane glasses, tea lights - basically, if it was glass and looking a little plain I etched it. I've tried lots of tricks, materials, and stencils and I'll show you my tried and true method. There are a lot of etching supplies you can buy at the craft store. There's sand etching, cream etching, stencils, vinyl....oh so much! Really, all I use, though, is some etching cream, paint brush, and masking tape. Wait, are you surprised? Remember, my motto for crafts and decorating is to create for less than it would cost to purchase.
There are a lot of very cool stencils that you can purchase, but I tend to like drawing my own art (of course, if you're trying to etch words, it would be easier to by a stencil - I speak from experience!). Don't mind my little doodles above, I always end up trying out different drawings before I settle on the perfect one.
In order to make a "stencil", I make a layer of masking tape to take the place of vinyl. A word of caution - use at least 2 layers of masking tape right on top of each other so that the "homemade vinyl" holds up the to etching cream. Notice that I made it larger than my drawing so that I can tape my drawing on top of the tape and cut out my stencil.
Here it is taped in place over the masking tape. I have tried many different instruments to cut out the stencil: knife, box cutter, exacto knife...but the thing that I think would best is a teeny pair of scissors.
I very carefully cut out the drawing. Masking tape works well because it's not too sticky so it's easier to handle than you would think.
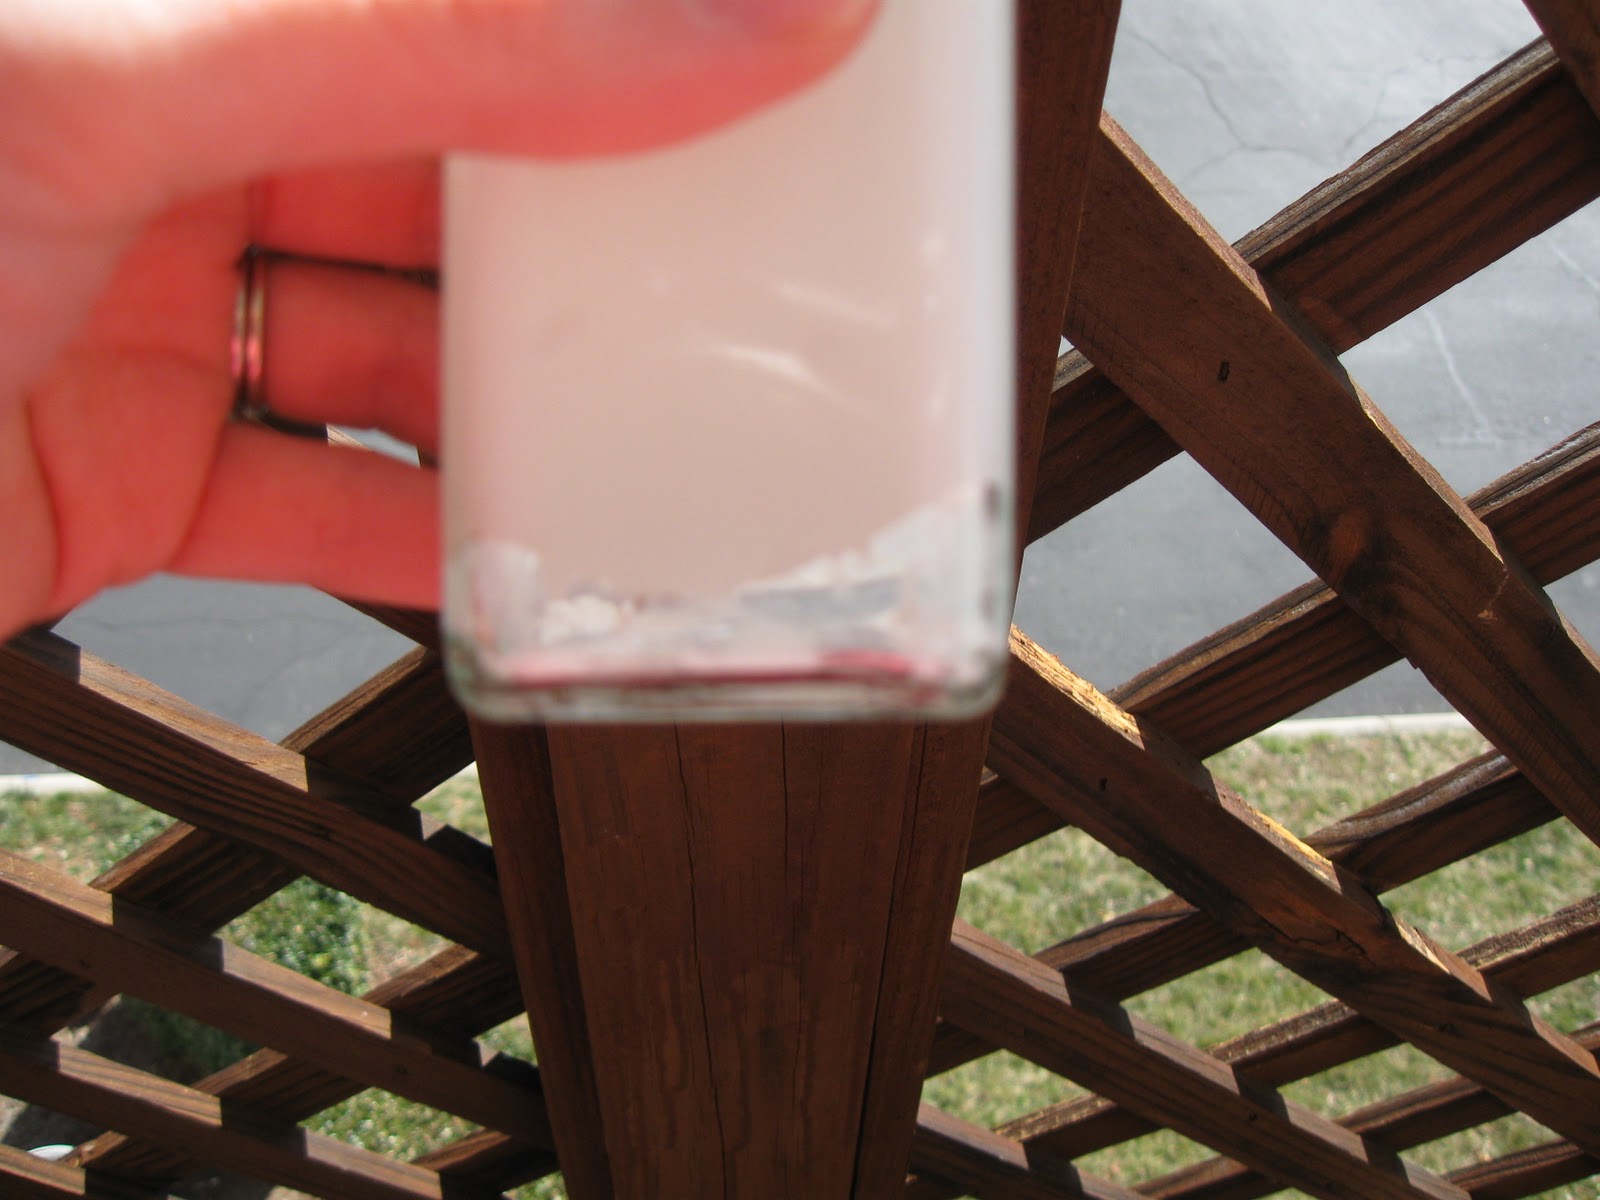
I made sure to clean the jar very well so the cream would go on evenly.
Just place the tape onto the glass item and you're ready to start etching! You can also tape down the bird itself and etch the negative space around it to leave a clear bird. A hint if you're doing that is to cut out a circle to place around the bird so that you have a stencil while painting on the cream.
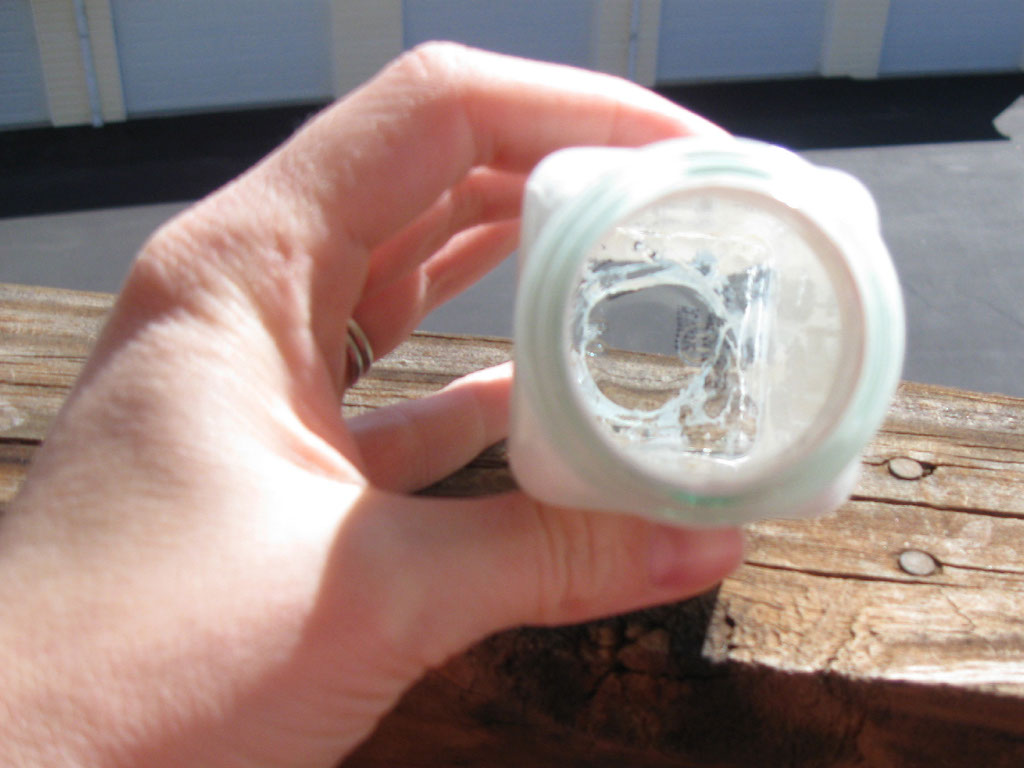
At this point follow the directions on the jar of etching cream. I used Armour Etch which calls for a thick layer to sit for five minutes. A thick layer is key to ensure your area is uniform. I like to flip my item over and make sure I can't see any light through the cream - sometimes I find a pin-sized spot that I missed. I also tend to leave it on for 10 minutes because I like more contrast.
After you wash it off, voila!
Now we just have to wait for a rainy day to use our rainy day fund!
I'm linking to:


