Showing posts with label glass. Show all posts

Thursday, March 24, 2011

If At First You Don't Succeed, Try Try Again


I didn't succeed in my first try...or my second...or my fourth. Luckily I kept trying and am able to say that I painted some bottles. I know what you're thinking and you can go ahead and say it, "Painted bottles, that's the easiest thing in the world." I know and I'm still not sure why this craft and I don't get along. Maybe if I show you my journey you can tell me where I went wrong, because I'm still not sure.

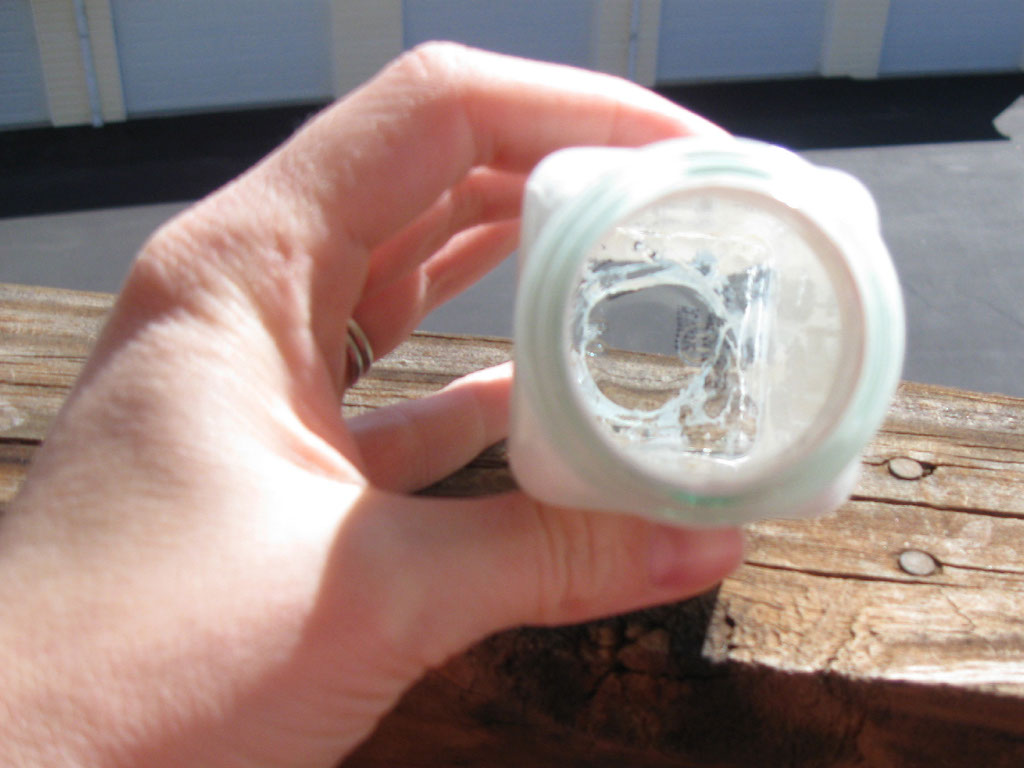
The journey began two months ago when I was not quite satisfied with my spray painted wine bottles and realized that I missed the shiny, glossy look of the glass. I decided to try pouring some paint into an old spice jar and allowing the outside to remain clean and glossy. I didn't have any enamel paint, but I did have leftover latex paint and used that.  I left it upside down for several hours checking it periodically to wipe away the excess paint.  All was looking wonderful so I decided to do some more spice jars. When I went to bed that night, they were looking beautiful.  The next morning I discovered what would come back to haunt me time and time again:

This was actually the third try, but you can see the horror.

Overnight, as they dried, the paint ran completely down the glass and left areas paint-free. I thought perhaps it was the type of paint I chose so I tried craft paint next. All looked well, until 12 hours later when I'd see the streaks.

Looking beautiful before bed

I tried pouring more paint in and recovering the naked areas, but that left the bottles with visible streaks in the sunlight:

Streaks after trying to fix

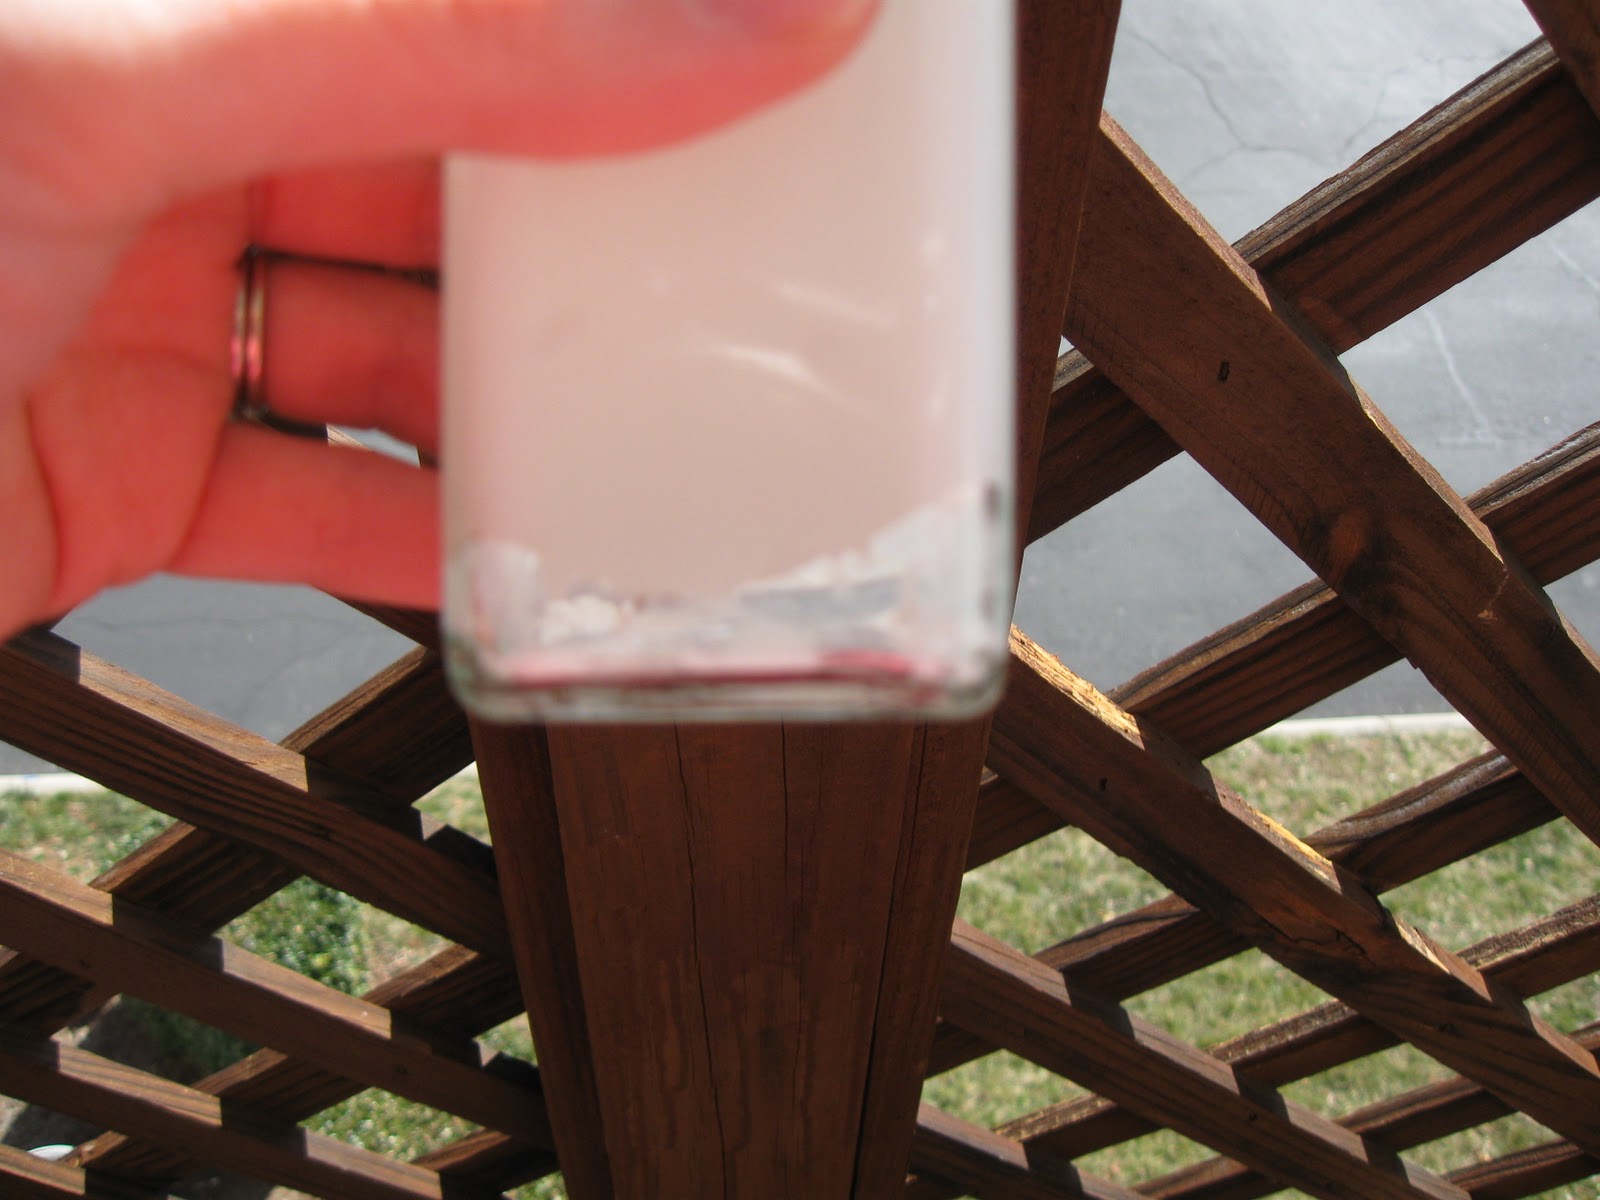
I also struggled with the paint bubbling at the bottom of the jar after I started alternating upside down and right side up every hour in an attempt to keep naked areas from appearing. I tried keeping the lid on, keeping it off...
pic name

pic name


A few times I ended up peeling the paint completely off and starting again. I began to think maybe I should just give up, but then I saw others with their own jars painted around the blogging community and it just fueled my crazed mind. Why could others do it and I couldn't?

In the end, I spent days painting and repainting with a teeny paint brush to cover over the naked areas that appeared each night that I slept. After four days the paint finally dried and stopped running around the jar.  Let's just say, until someone can tell me their secret, I am done with these beautiful, shiny, amazing glass jars.

Only three out of 9 turned out

So, what's the secret?!? I desperately want more faux white milk glass!


Linking to:
A Crafty Soiree
Paisley Passions
A Glimpse Inside

Monday, March 7, 2011

Grown Up Etch-a-Sketch

This weekend was a big crafting weekend and I wish I could share my completed projects with you.  Unfortunately they were mostly birthday gifts and, given how the soon-to-be receivers may read this post, I can't ruin the surprise.  I can show you my new and improved coin jar, though!


During the Christmas season I became a bit addicted to etching glass. I etched glass ornaments, vases, hurricane glasses, tea lights - basically, if it was glass and looking a little plain I etched it.  I've tried lots of tricks, materials, and stencils and I'll show you my tried and true method.  There are a lot of etching supplies you can buy at the craft store. There's sand etching, cream etching, stencils, vinyl....oh so much! Really, all I use, though, is some etching cream, paint brush, and masking tape.  Wait, are you surprised? Remember, my motto for crafts and decorating is to create for less than it would cost to purchase.


There are a lot of very cool stencils that you can purchase, but I tend to like drawing my own art (of course, if you're trying to etch words, it would be easier to by a stencil - I speak from experience!).  Don't mind my little doodles above, I always end up trying out different drawings before I settle on the perfect one.


In order to make a "stencil", I make a layer of masking tape to take the place of vinyl. A word of caution - use at least 2 layers of masking tape right on top of each other so that the "homemade vinyl" holds up the to etching cream.  Notice that I made it larger than my drawing so that I can tape my drawing on top of the tape and cut out my stencil.


Here it is taped in place over the masking tape. I have tried many different instruments to cut out the stencil: knife, box cutter, exacto knife...but the thing that I think would best is a teeny pair of scissors.


I very carefully cut out the drawing.  Masking tape works well because it's not too sticky so it's easier to handle than you would think.


I made sure to clean the jar very well so the cream would go on evenly.


Just place the tape onto the glass item and you're ready to start etching! You can also tape down the bird itself and etch the negative space around it to leave a clear bird.  A hint if you're doing that is to cut out a circle to place around the bird so that you have a stencil while painting on the cream.


At this point follow the directions on the jar of etching cream. I used Armour Etch which calls for a thick layer to sit for five minutes. A thick layer is key to ensure your area is uniform.  I like to flip my item over and make sure I can't see any light through the cream - sometimes I find a pin-sized spot that I missed.  I also tend to leave it on for 10 minutes because I like more contrast.


After you wash it off, voila!


Now we just have to wait for a rainy day to use our rainy day fund!

I'm linking to:

Tuesday, February 15, 2011

I Don't Recycle - I Decorate....With Wine Bottles

Wine bottles. Spice jars. Olive oil bottles. Salsa jars. The most common food is often stored in the prettiest little bottles. When a bottle is empty, I gaze at it, clean it, and then use it to decorate my house.

Don't you?


Wait, are you telling me not everyone has empty wine bottles around their home?


Oh.

At one point, my collection of wine bottles was getting a little out of hand. You may wonder why I didn't recycle them or even just toss them in the trash. That, my blogging friend, is a very good question. You see, I think I may have a problem. It stems from my inability to fathom spending inordinate amounts of money on pretty vases and other decorating items when I could use what I already have. A problem arises, then, when I pour the last drop of wine...or olive oil. When I shake the last flakes of dried spices or scoop out the last of the pesto I think to myself, "Wow, that's a pretty bottle. If my husband were to ever give me flowers, I could put one in this little spice jar and put it on my bedside table." That is how my out of control collection began.

I have been trying to part with my pretty little bottles, but it's hard! So, instead, I'm attempting to re-purpose them, make them appear a little more sophisticated, a little more in tune with my decorating style. For example, in the above picture of my living room I have three wine bottles on the end tables. I like to think they work better spray painted, etched, and hot glued.

recycle wine bottles decorating

Here are some examples of my re-purposed bottles:


I'm also in the process of altering some spice jar by making faux milk glass vases...more on those later.

Is there anyone else out there who hoards glass jars and bottles or am I the only one?

LinkWithin

Related Posts Plugin for WordPress, Blogger...